Melt & pour soap for beginners

How to make melt and pour soap, step by step.

Learn the complete path from a scored soap base brick to finished bars: what to prepare, why to cut it, how to melt it, what to mix in, what to pour into and how to cool it properly.

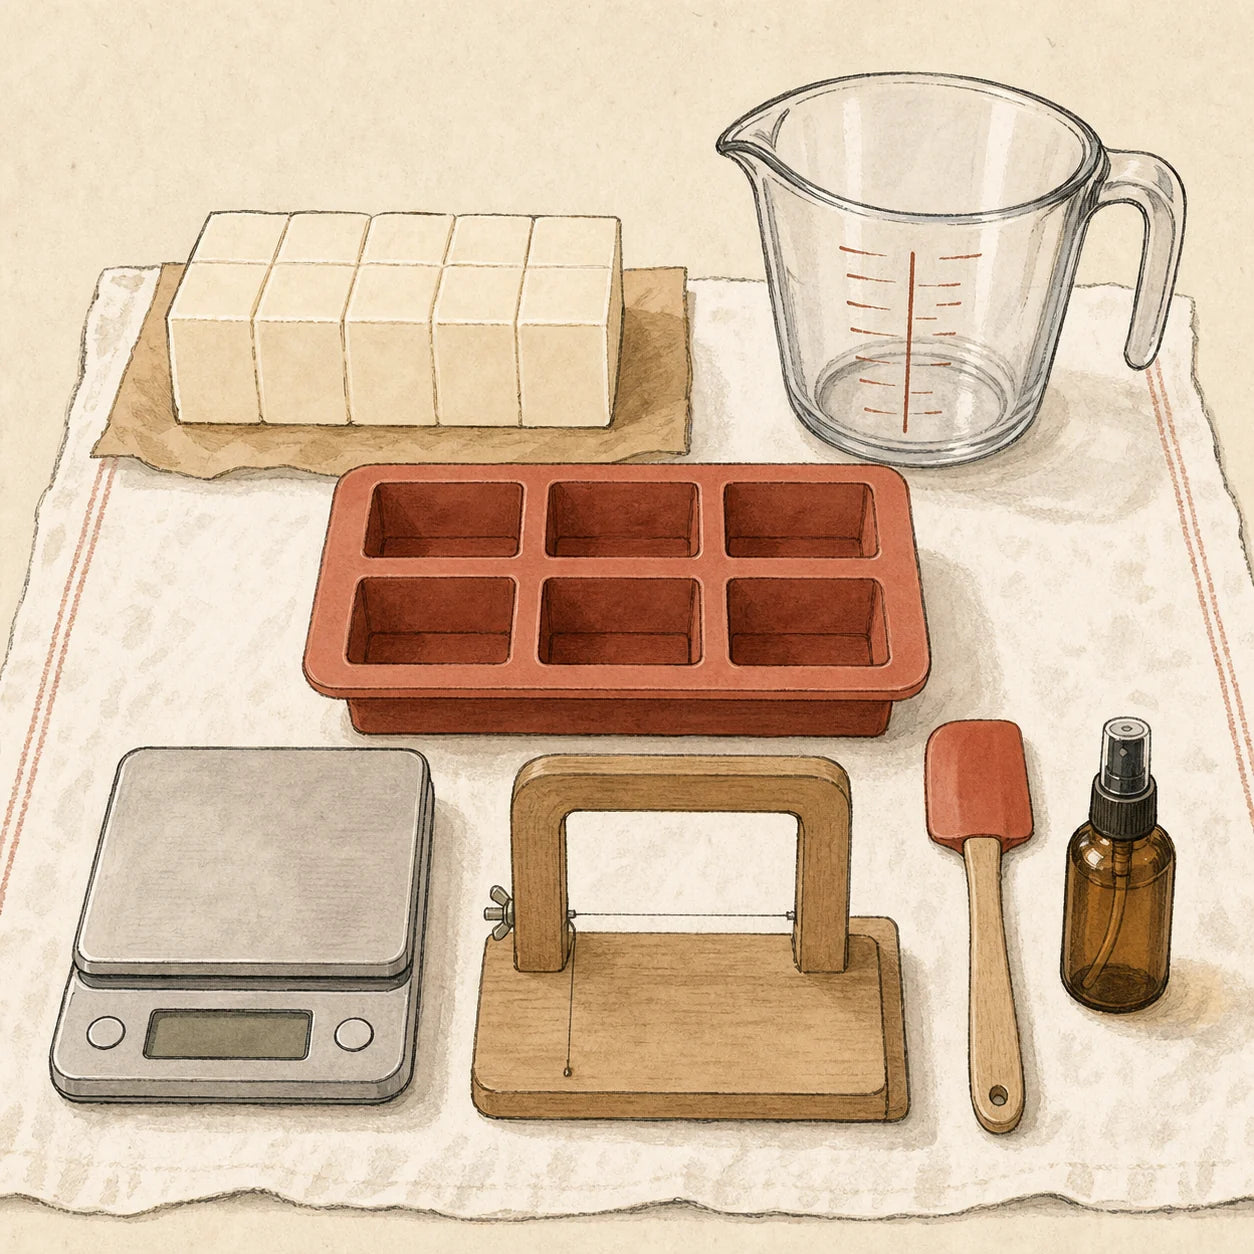
Hand-drawn soap-making tools including a mold, scale, soap cutter, pitcher and spatula

Before you begin

Start clean, dry and measured.

Melt and pour soap is already saponified, so there is no lye to handle and no curing period. The working base does get very hot, however, so prepare everything before you begin.

  • Clean, completely dry work surface and tools
  • Heat-safe pitcher or bowl and silicone spatula
  • Cutting board, straight cutter or non-serrated knife
  • Digital scale and flexible, heat-safe soap mold
  • Soap-safe scent and color, already measured

The complete process

Six clear steps from brick to finished bar.

Work in a small batch the first time. Melt only what you can customize and pour comfortably before the base begins to set.

Hand-drawn clean melt and pour soap workspace and tools

Step 01

Prepare the batch before adding heat.

Wash and completely dry your molds, spatula and melting container. Place the mold on a rigid tray so it can be moved without bending or spilling. Weigh the base, then premeasure any scent or color.

Why measure first?

Melted base begins to form a skin as it cools. Having every addition ready prevents rushed measuring while the soap is setting.

Keep water out

The formula already contains the water it needs. Extra water or steam can affect clarity, hardness and storage stability.
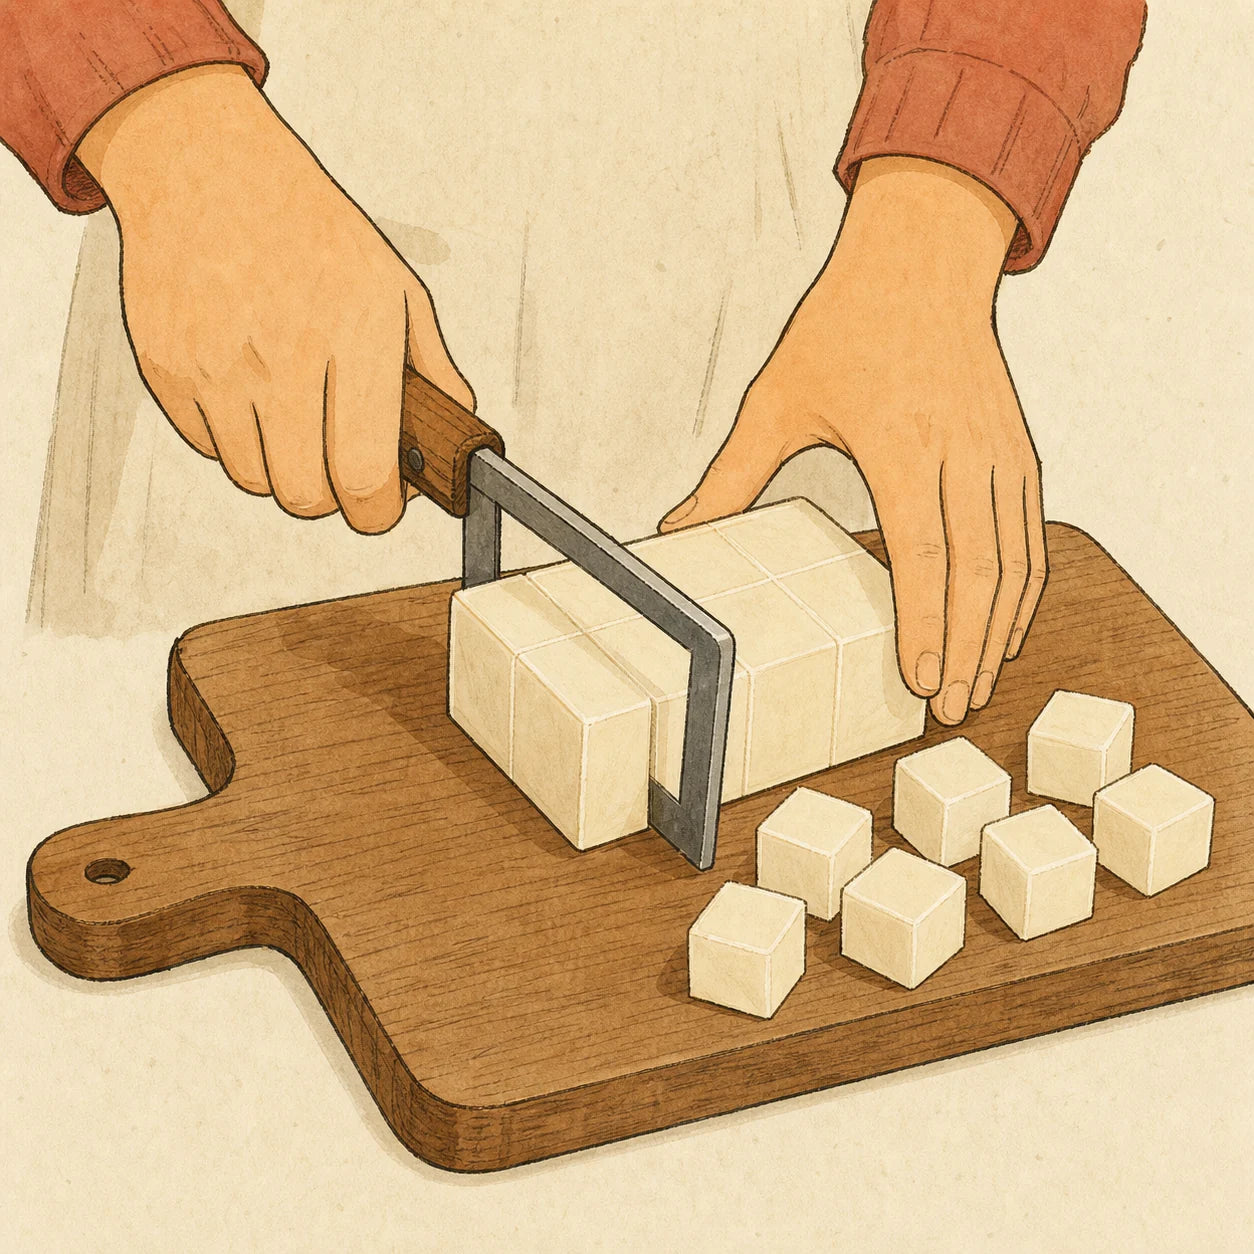
Hand-drawn hands cutting a scored soap base brick into even cubes

Step 02

Cut small, even pieces.

Use the score lines as a guide, then cut the portion into roughly 1-inch cubes. Thin slices or coarse shavings also work when you want the base to melt faster. Use a stable cutting board and cut away from your hands.

Why cut it?

Equal pieces melt at a similar rate. Large chunks can remain solid while the surrounding liquid overheats.

Three useful cuts

Cubes are easy to weigh, thin slices melt quickly, and shavings work for very small batches or topping up a color.

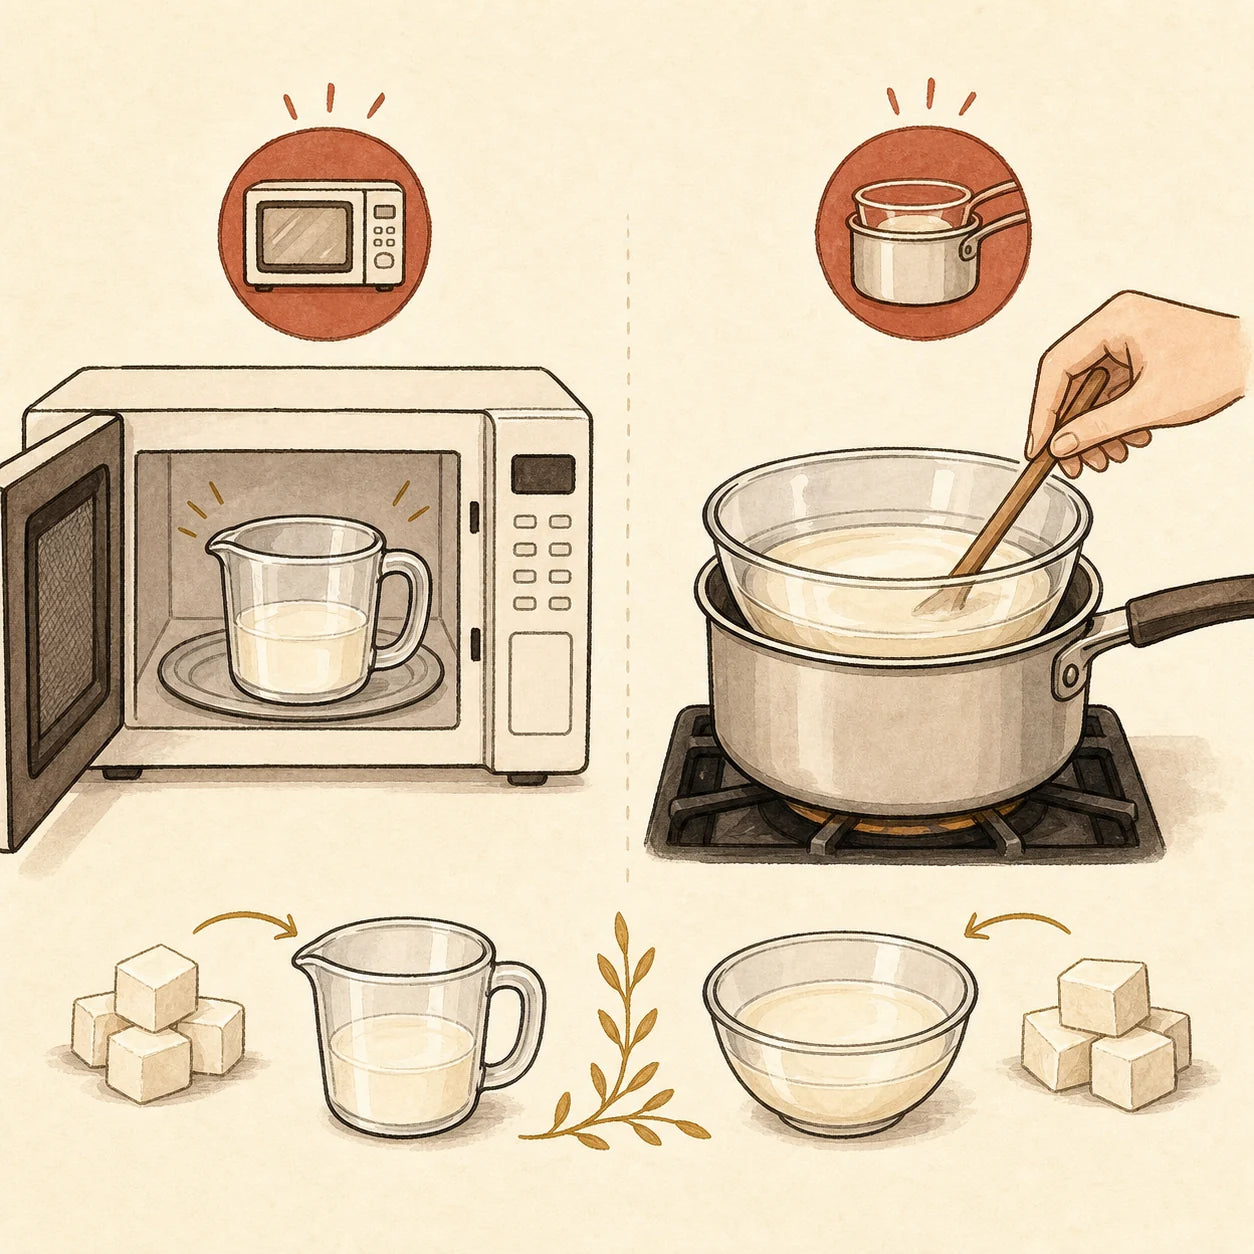
Hand-drawn microwave and double boiler methods for gently melting soap base

Step 03

Melt gently — never boil.

Your goal is smooth, fully liquid soap with no solid lumps. It should not bubble, foam or simmer. Boiling and repeated overheating can evaporate water from the base and may leave finished bars rubbery, shrunken or difficult to pour.

Option A

Microwave

Use a microwave-safe pouring pitcher. Heat in short 20–30 second bursts, stirring gently after each burst. Stop heating as the last small pieces soften.

Option B

Double boiler

Set a heat-safe bowl or pitcher over gently heated water. Keep the heat moderate and prevent water or steam from entering the soap. Never place the base directly over a burner.

Heat and burn warning: the melted soap, container and handles may be hot enough to burn. Use dry heat-resistant mitts, keep your face and hands away from steam, and place the container on a heat-safe surface.

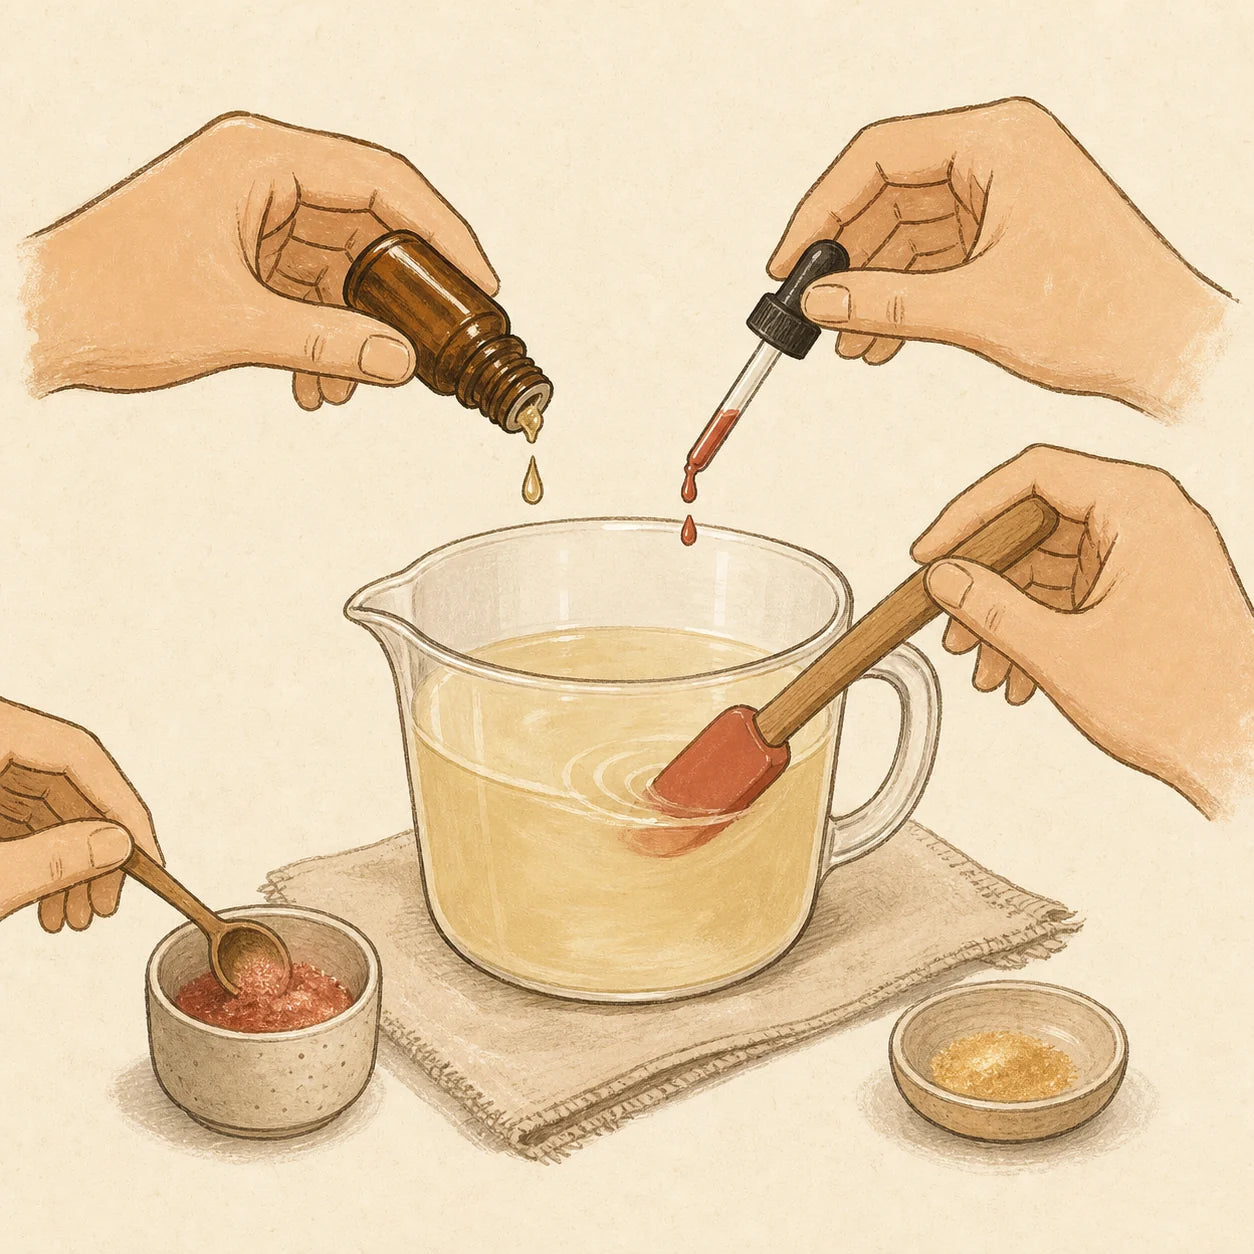
Hand-drawn soap-safe fragrance, liquid color and mica being mixed into melted soap

Step 04

Add scent, color and design details.

Stir gently so additions distribute evenly without whipping air into the soap. Only use materials identified as skin-safe and compatible with melt and pour soap.

Fragrance

A common working range is about 2–3% by weight. Never exceed the lower of the base limit, the supplier limit and the current IFRA Category 9 limit.

Liquid color

Start with only a few drops of soap dye and build the shade gradually. Clear base shows brighter color; opaque bases create softer shades.

Mica or pigment

Start small and follow the colorant supplier's rate. Disperse powder first when its instructions recommend doing so.

Other additions

Extra oils, fresh ingredients, water or excessive botanical material can soften the bar or reduce lather. Test a small batch first.

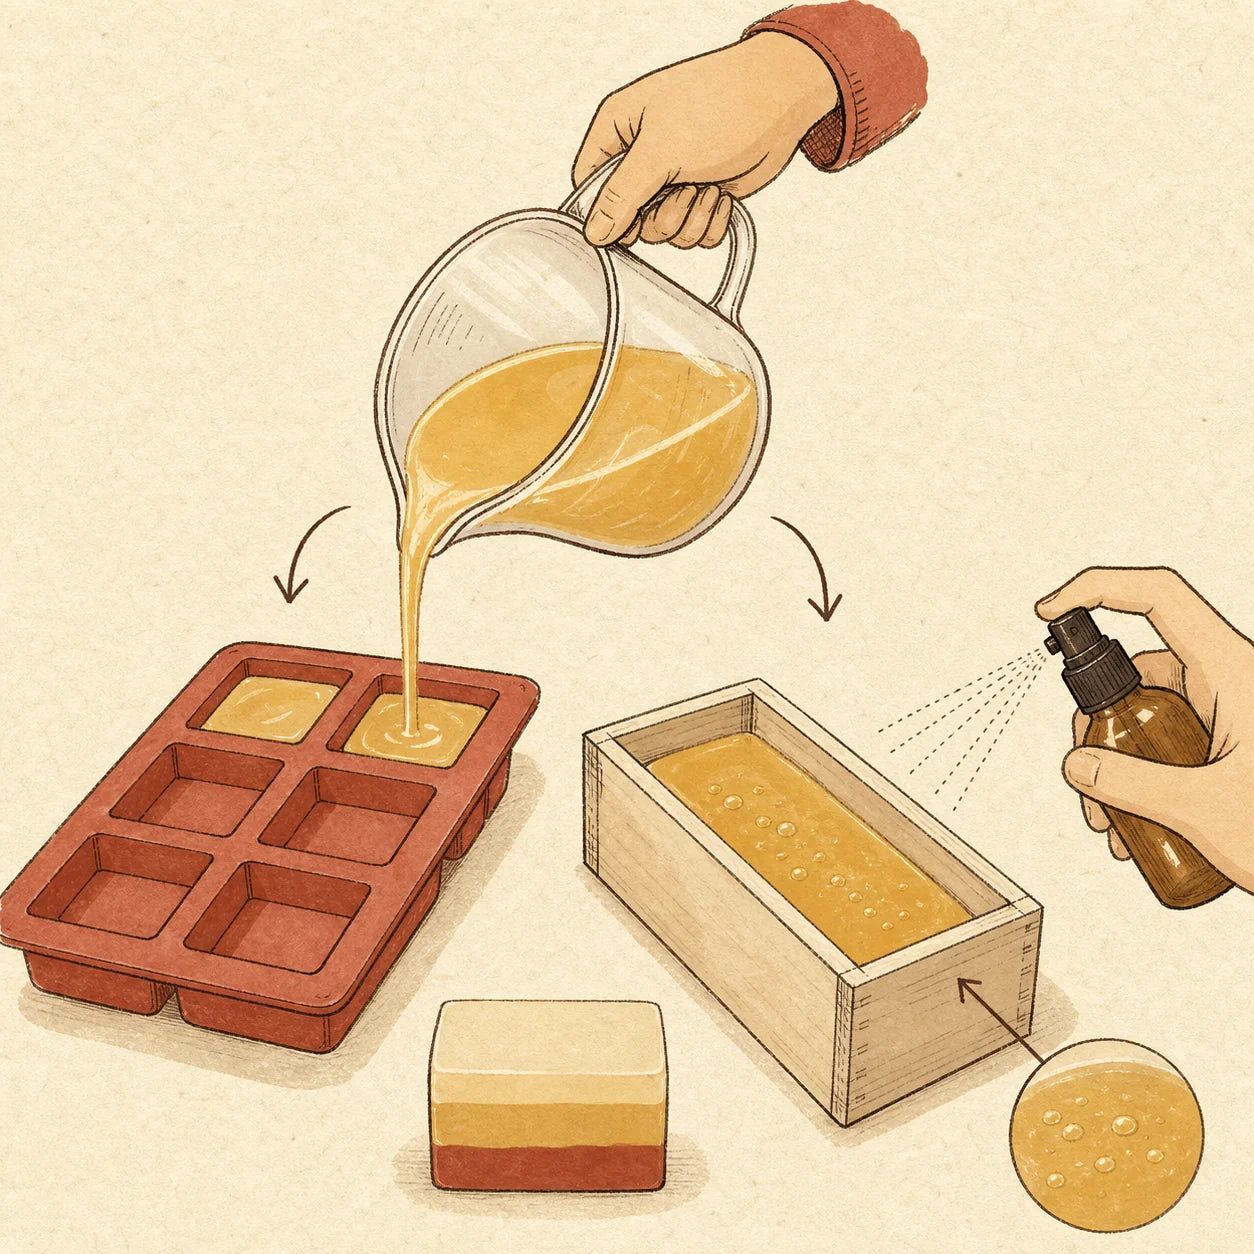
Hand-drawn melted soap being poured into silicone cavity and loaf molds

Step 05

Pour slowly into the right mold.

Flexible silicone cavity molds are easiest for beginners. Heat-safe plastic molds give crisp details, while silicone-lined loaf molds work when you plan to slice several matching bars. Pour in a thin, steady stream.

Remove surface bubbles

Lightly mist the top with 99% isopropyl alcohol immediately after pouring. A light spray breaks surface bubbles.

Layers and swirls

For layers, let the first pour form a firm skin, lightly spritz it with alcohol, then add the next layer.

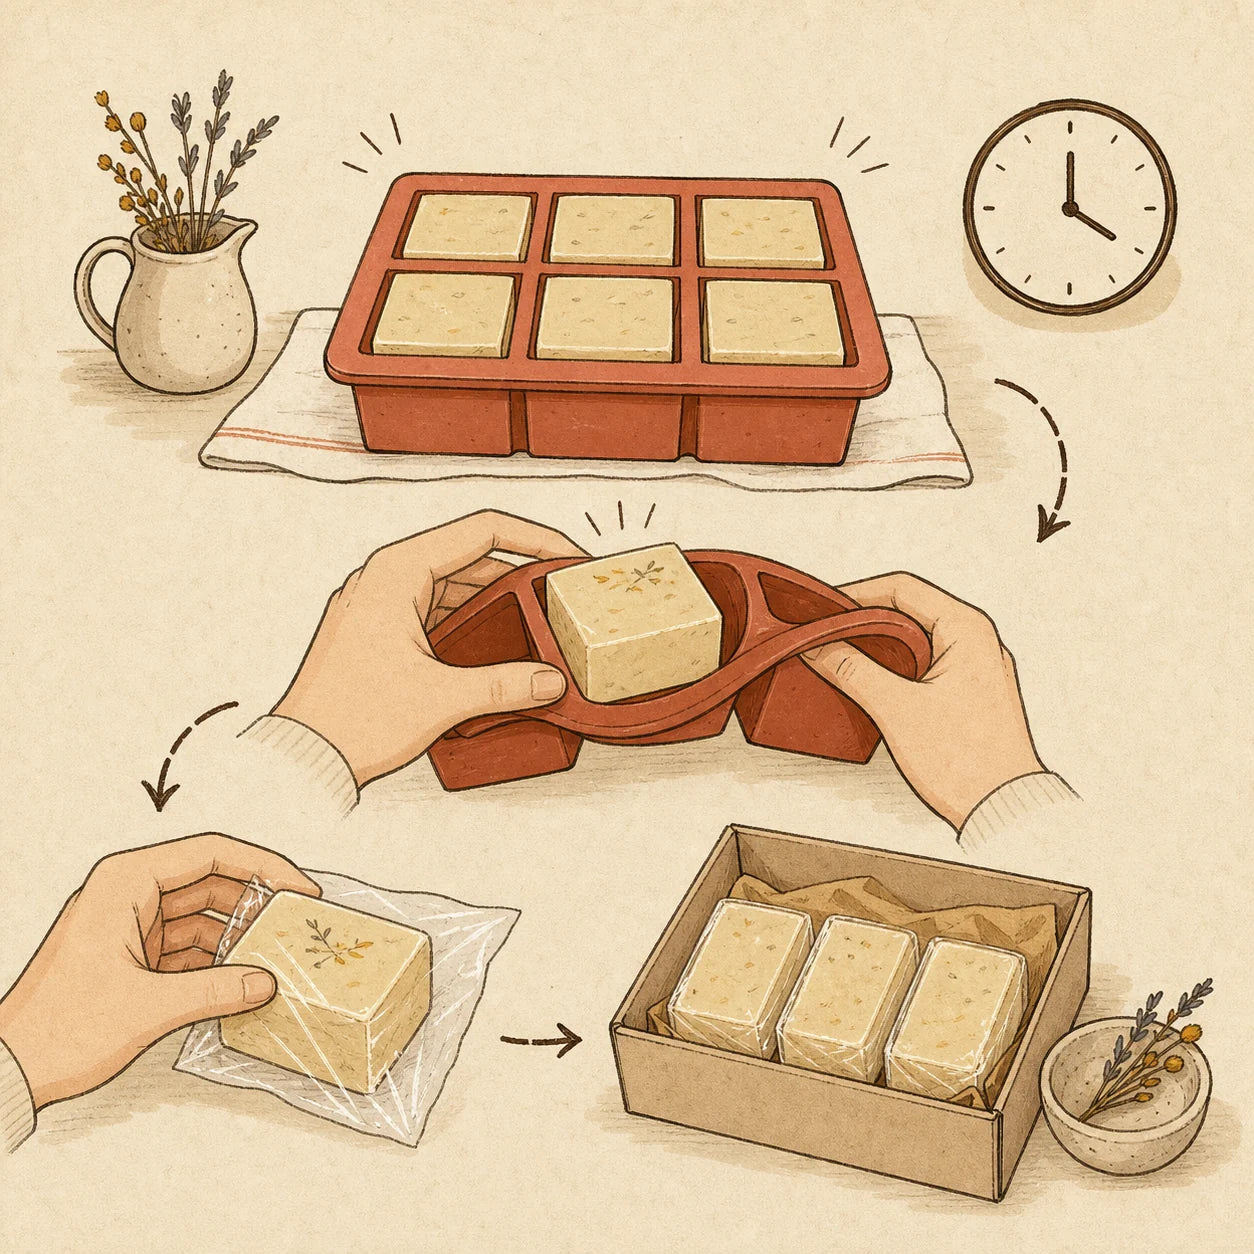
Hand-drawn soap bars cooling, being unmolded and wrapped for storage

Step 06

Cool completely, unmold and wrap.

Leave the mold level and undisturbed at room temperature until the bars are fully hard—usually several hours or overnight, with deeper molds taking longer. Melt and pour soap does not need a multi-week cure.

Preferred

Room-temperature cooling

Let the mold cool naturally on its tray so the bar hardens evenly.

If the bar sticks

Brief refrigerator assist

First confirm the bar is fully hard. If it still will not release, refrigerate the mold for up to 30 minutes, then flex it gently.

Wrap promptly: once unmolded, wrap each dry bar closely or place it in airtight packaging to limit glycerin dew, moisture loss and shrinkage.

Beginner troubleshooting

Small changes solve the most common problems.

Make one test batch before producing a full run, especially when using a new fragrance, color or mold.

The base thickened before pouring.

Return it to gentle heat for only a few seconds, stir slowly and pour as soon as it is fluid again.

There are bubbles on top.

Stir and pour more slowly, then use a light mist of 99% isopropyl alcohol immediately after pouring.

The bar has moisture beads.

Glycerin attracts humidity. Let the bar dry, then wrap it closely and store it in a cool, dry place.

The layers separated.

Let each layer form a skin and lightly spritz the surface with alcohol before the next pour.

The color changed after scenting.

Some fragrances can discolor soap. Test a small amount first and plan the design around any expected change.

The bar will not leave the mold.

Wait longer before forcing it. When fully hard, flex a silicone mold away from the edges.